Posted in DIY

DIY Clutch Bag : Ethnic can be so glamorous too !!!

“I just find things that work and embellish them.” Lindsey Buckingham

a

Hello there,

It was such a long wait to have 15 minutes free time to update my blog.. Actually I had many stories to write about but these business couldn’t be postponed indeed.. So, now I want to make sure my 15 minutes free won’t be wasted.. Hehe..

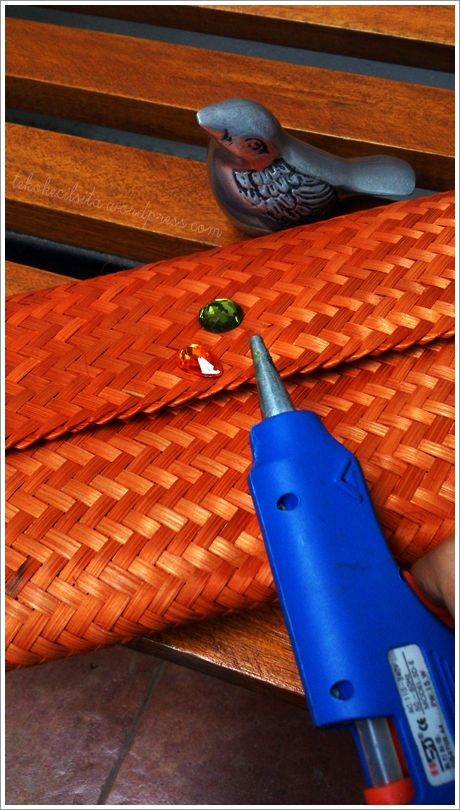
Last Saturday, I made a simple DIY clutch bag.. Actually it wasn’t a real DIY because all I do was sticking, sticking and voilaa.. Super easy and super fast, here we goo..

b

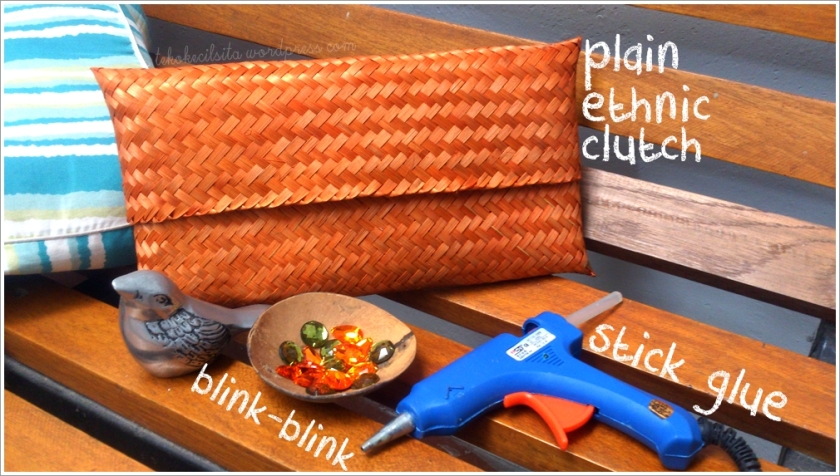
Here the materials :

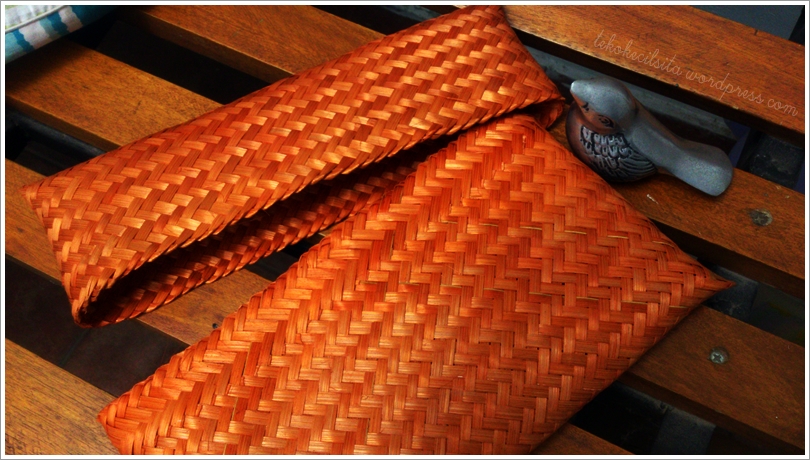
♥ Ethic clutch bag made from bamboo. In my country, Indonesia, this clutch bag can be bought in traditional market or some souvenir shops.. Mine was bought in Yogyakarta..

d

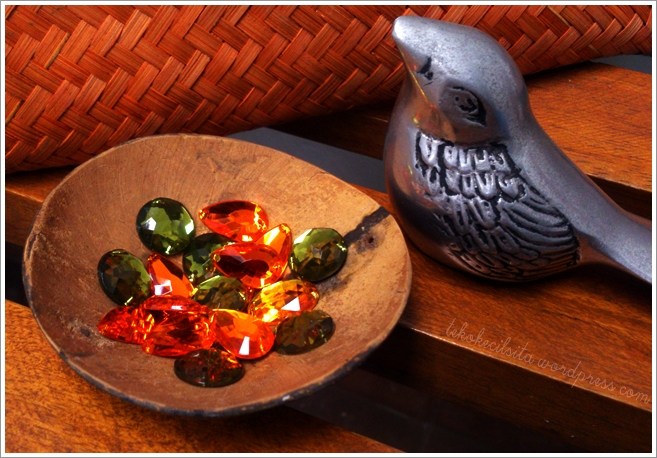
♥ Beads. I used the blinking beads.. Those are flat and easy to be attached..

c

♥ Stick glue


SP_HappyGoLucky_Stitching


First, you can make your own pattern for attaching the beads in your clutch bag.. You can make spread out pattern or full pattern.. It depends on your preference look of your clutch bag.. For mine, I was going to embellish the center part due to limited beads.. hehe

e

Stick and stick.. It was a little bit tricky because sometimes the glue spilled out behind the beads.. So make sure you don’t put too much glue or it will make your clutch bag looks not good 🙂

Dum dum durunduuum

f

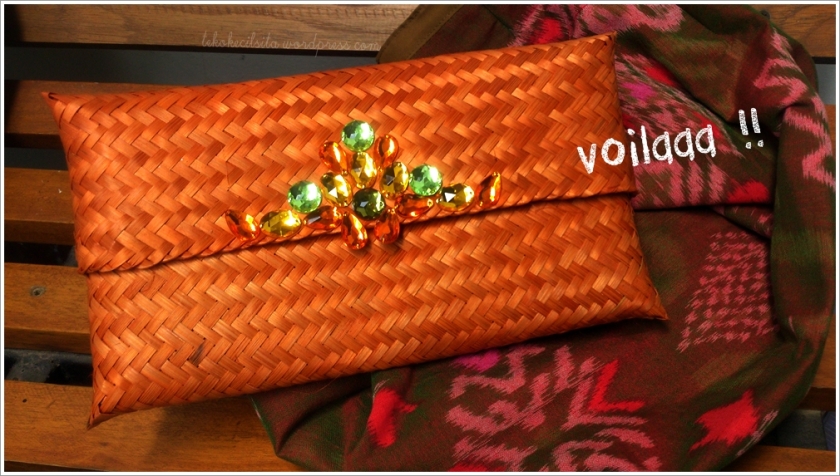
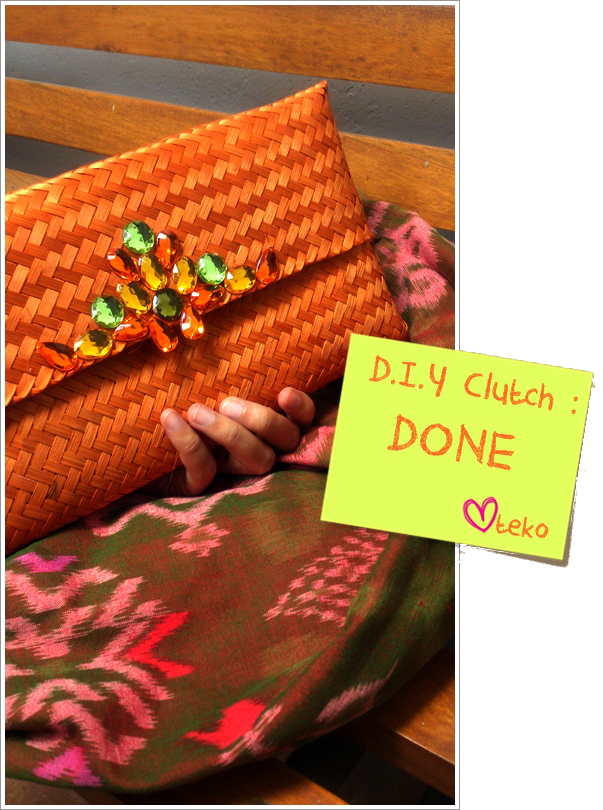
Here my DIY clutch bag.. Ethnic clutch bag yet so glamorous.. Let’s go party!! 😀

g

Thanks for reading my post.. I hope you like it!!

Will be back soon with more interesting stories.. Have to back work again, byeee ♥♥♥

Love,

D4779E20035572AC7E2816A17121536E2

Posted in DIY

Kumari, The Melancholy Plushy

“Melancholy is the pleasure of being sad.” ~Victor Hugo

d

RPENN_expressyourself-ribbon4

Well, time goes really fast, indeed.. I had mentioned in every post that time goes really fast and yeah it’s already July 2014.. Unfortunately my July welcomed by the health that dropped slightly.. Got fever in fasting month was not a good idea.. Huhu.. Anyway, who says it’s a good idea?!!  :p

This fever made my weekend passed by doing nothing in the home sweet home..  Looking at the good side, actually this is what I have waited for couple of weeks.. Me time!!! Although it was not as good as my thought since this sickness came in the wrong time..

Let’s just forget this fever because I wanted to show you about recycle the old tee into beautiful plushy..

 q

Well, first time seeing this tee, I couldn’t afford not to buy it.. Since then, it was one of my fave tees.. Wore this to hang out with friends very often like didn’t have any other tees.. Haha.. It had accompany me passed these 4 years make it looked so dull and exhausted.. It even turned as pajamas lately.. Hmm Yes, I thought “It’s time for your retirement, tee!” huhu.. But, I couldn’t put this tee away.. So, I decided to recycle it into something pretty.. Interesting? Let’s see what I’m gonna do..

RPENN_expressyourself-ribbon4

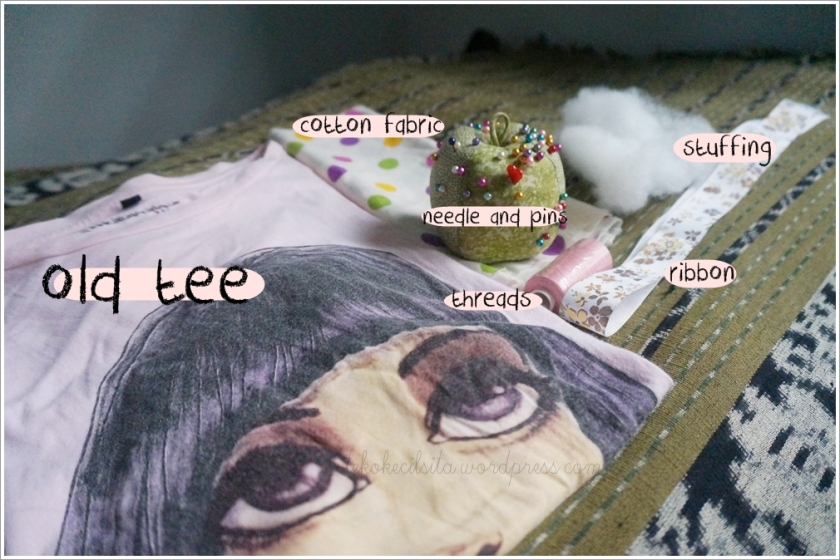
So, here the materials :

♥ old tee

♥ pins, needle and thread

♥ cotton fabric

♥ ribbon

♥ stuffing

b

How to do???? Just follow the pictures here :

c

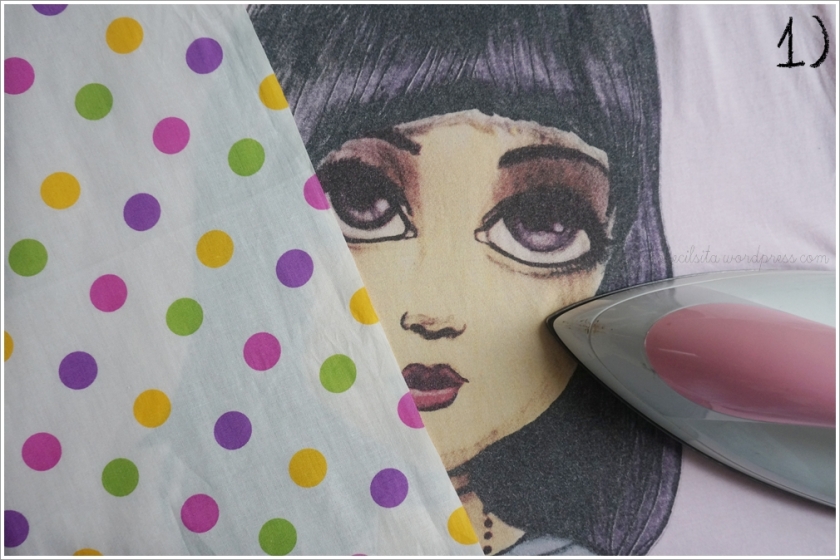
As always, ironing the fabric first.. It would make the fabric sleeker and easier to sew..

d

After ironing, I cut the doll pattern in my old tee.. Don’t forget not to cut the pattern too close because we have to give some space for sewing later.. I leave around 1-1,5 cm, then..

e

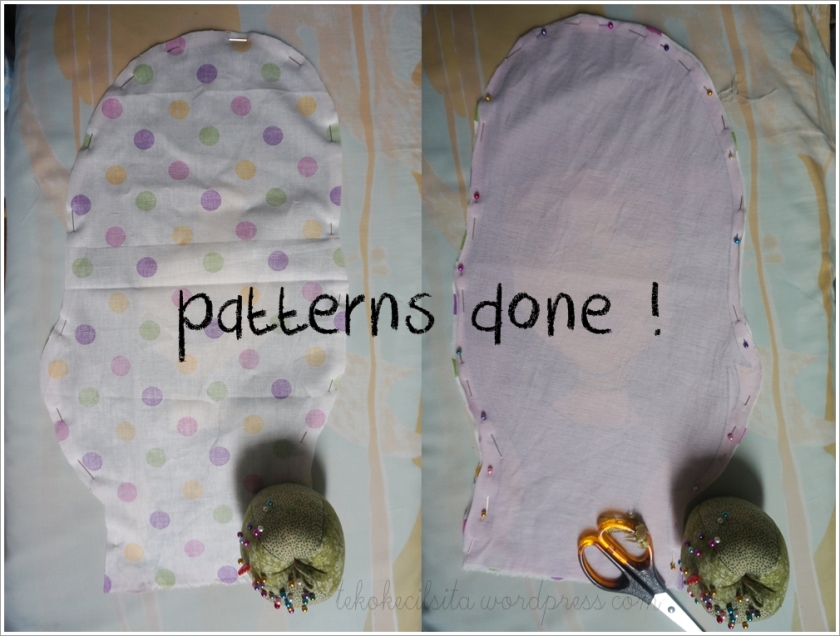
Now, attach the doll pattern to cotton fabric.. Attach it exactly in the same position as I did in the picture.. I mean, the right side were facing each other.. After that, attach the pins along the pattern to secure it..

f

Cut the cotton fabric following the doll pattern.. Alright, now we have the pattern with its right side facing each other and the pins around the pattern.. Let’s move to sewing machine.. 🙂

g

Tips : before sewing, you can draw a line as a sign for you to sew.. Actually I forgot to draw a line here, so I just follow the pins to sew it..  :p

hi

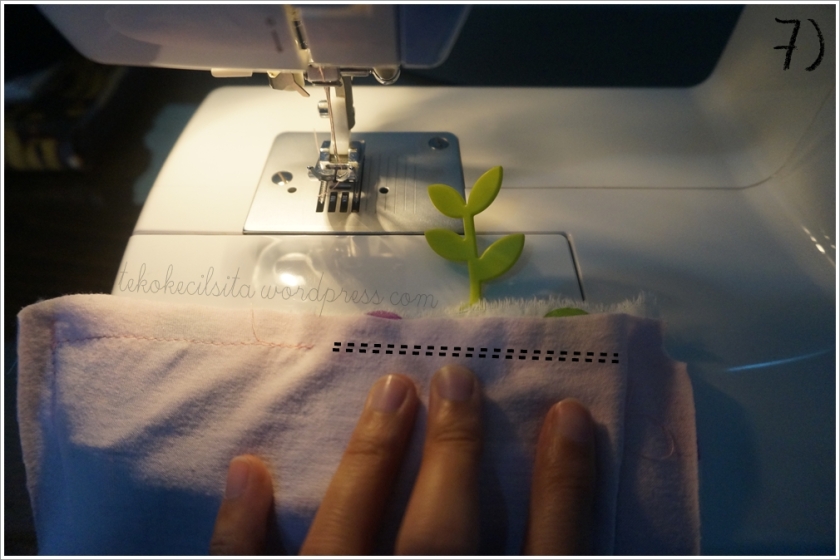
This was where my ribbon being attach.. Anyway this is optional.. As usual, I like to attach the ribbon to my all plushy as a “brand tag”.. Just to mark my plushy, anyway.. hihi

Well, don’t be so “into it” with your sewing machine.. hehe.. Remember to put some space to reverse the pattern to the right side.. So, stop sewing and give 10-cm-space.. Now we’re done with the sewing machine..  ♥

j

k

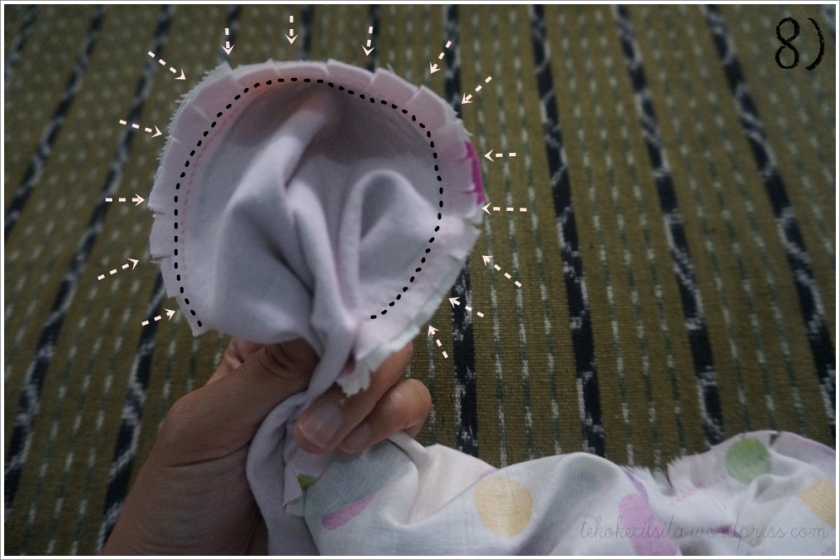
Before reversing the pattern, cut the pattern upright to the sewing line.. It would look like big fringes along the pattern.. Why did this? Good question.. Previously, I reverse the pattern to the right side but then the pattern looked so full and messy in the edge part.. Then, I did this, big fringe.. The result when I reverse the pattern was better and more presentable.. 🙂

l

Last but not least was stuffing my plushy.. Somehow, this part was the most tricky part.. Make sure to fulfill all the patterns with the stuffing was a longtime job for me.. Huhu.. Anyone has the same difficulty?

m

Finally, did the ladder/blind stitch for closing the opened part of the plushy.. And doneee yeah!!

a

Yes, I’ve named this plushy Kumari.. What is Kumari? Kumari in Sanskrit (Sansekerta) means girl or daughter.. I think it’s pretty name and suitable for my new plushy.. Kumari, the melancholy plushy.. Because her views is just soooo melancholic.. Beware! You can get crush with her.. Big eyes and little smile would make you couldn’t sleep 3 nights in a row.. hihi

n

It was already 2 hours went by .. What? Just needed 2 hours to forget my fever and recycle something.. Hopefully later, it would come another recycle idea because this fever wouldn’t go yet before I got busy with something huhu.. Anyway, really excited to have some fun with Kumari.. I hope she didn’t mind accompany this ill person hihi..

o

So this is it, guys.. Thank you for reading my post.. Hope my post will inspire you to make another Kumari.. Share yours, I’d love to see them too.. I would be so glad to meet you again in the next post.. Bye byee

RPENN_expressyourself-ribbon4

“I’m an environmentalist; I recycle.”~Kyrsten Sinema

Love,

D4779E20035572AC7E2816A17121536E2

Posted in DIY

DIY Coin Purse ♥

“The life so short, the crafts so long to learn”~Geoffrey Chaucer


Helloooo!!!

Finally last Sunday, I became so productive.. At least one DIY thing could be made although my body was so poor.. Beforehand, I had 4 days nonstop visiting expo in Singapore for job matters.. It was so tiring but fun also (big allowance, nice hotel and flight, much time for retail therapy.red) hihi.. FYI, not much Sale signs at shopping mall there, but I got forever21 traveling pack for only $4 .. It seemed like it was enough to make my eyes sparkled .. Okay, enough, too much unnecessary stories revealed .. Hihi let’s do the coin purse ♥

3

In the last post, I told you that I had purchase some fabrics in some online shop.. Yes, I bought the floral, polkadots and plain fabrics.. All in bright colors (totally boost my mood)..  As these things arrived at my house, I did really excited.. Wohooo cotton never goes wrong.. Anyway, I bought coin purse frame too, I bought the bronze one for only 13.000 rupiahs.. Indeed, really want to make a coin purse so I had prepare all the materials from far in advance.. ♥

a

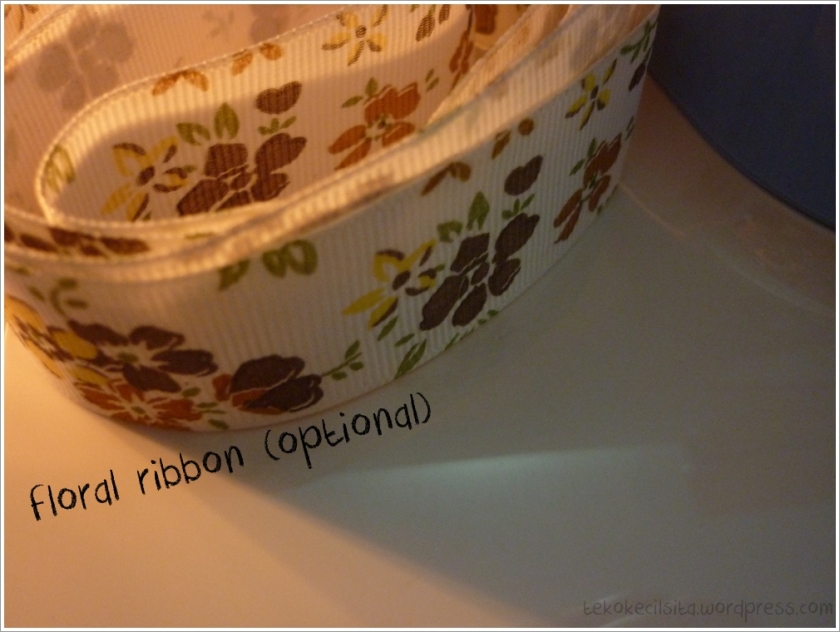
I used two kinds fabric, the floral for outer and the fuchsia for inner.. Floral ribbon is used as “brand tag” inside, I would attach it manually in the inner pattern.. Poms for outer lining (for sure, poms would be great for giving such cute and girly vibe in my coin purse) ♥


RPENN_expressyourself-ribbon4

First to do is drawing a pattern following the frame.. I decided to make an oval pattern.. You can make rectangular pattern or any other kind patterns.. Don’t forget to give a sign to your drawing which denote the edge of the frame (see the dashed line).. It means that you have to stop the stitching there, later..

b

Ironing the fabric for sleeker result and easier starting.. After ironing, we can cut the fabrics accordance the patterns which we had previously make ..

c

I did the inner first.. I attached the floral ribbon in this plain fabric manually.. It would be like a “brand-tag” (just for kicks, hehe).. Due to easiness, I prefer hand-stitching than using a sewing machine..

d

Move to the outer pattern that used floral fabric.. I started to sew the poms following the outer line.. ♥ These poms would make my coin purse look different.. Really love the poms poms poms ♥

e

Now I have two parts of my coin purse, outer and inner part.. As I told you when I start drawing the pattern, “Please, pay attention to the dashed line!”.. It is used as a limit for your stitching, means stop sewing right at that sign.. (The opens part would be attached by the frame, later..)

f

After that, join both parts.. Fit them and start to do a blind stitching/ ladder stitching between the outer and the inner..

g

The result should be like this

h

After done with blind stitching for both side.. I could attach the bronze frame to my semi finished-coin-purse .. There are holes around the frame, all I have to do is just stitching the fabric following the holes..

i


RPENN_expressyourself-ribbon4

Woosaaah.. My coin purse is already done!!

j

Cute, isn’t it? The shape is a little bit “mencong-mencong” .. Asymmetric.. But this asymmetric-idea doesn’t bother me at all.. Hihi.. As I can put my coins here (but wait, it’s too pretty for putting coins) .. 😀


RPENN_expressyourself-ribbon4


Peek – a – boo

k

RPENN_expressyourself-ribbon4

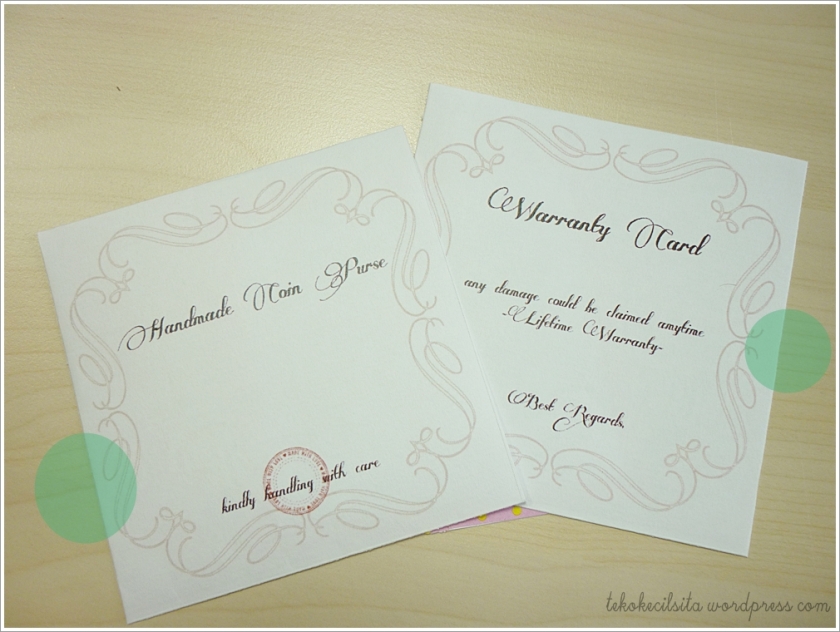
This coin purse should be great for a gift to some besty too, right? I think I’m going to give this to my mom, my best of the best person in this universe.. I hope she doesn’t mind with the asymmetric shape a.k.a mencong-mencong.. hihi I also made a lifetime warranty card for more exclusive gift for her (besides she can immediately complained and claimed whenever the coin purse is damaged, hehe) ♥..

RPENN_expressyourself-ribbon4

l

Hopefully my mom will love it..


x I can see my mother in the kitchen
My father on the floor
Watching television
It’s a wonderful life

Stomp my boots before I got back in. x

~Boots, The Killers

m

Well, enough for today.. I hope you like my DIY coin purse.. Happy Crafting!! Have a nice Monday, everyone..

RPENN_expressyourself-ribbon4


“What is bought is cheaper than a gift.” ~Portuguese Proverb


Love,

D4779E20035572AC7E2816A17121536E2

Posted in DIY

DIY : The Twins Plushies ♥

“And I believe that the best learning process of any kind of craft is just to look at the work of others.”~Wole Soyinka

free vintage printable - baby frame image

Hello 🙂

Here I go again, crafting till my fingers were going so kinky.. Hihi.. Last week, I went to some random shopping mall and saw a little shop full of matryoshka.. Matryoshka, the famous Russian nested dolls..(By the way, I have one too and yes they are so pretty..)

In the next day, I searched a matryoshka pattern and finally found it here The pattern is quite simple, it doesn’t need so many fabric too.. Not too small and not too big, it’s really suitable for me as an amateur to do it.. hehe ♥

RPENN_expressyourself-ribbon4

As usual, we need a scissors, pin, needle and thread, beads and two different patterns of fabrics, also a fabric for the face (I used calico since I didn’t have any fabric stocks in my sewing basket, hihi).. Okay, my first step was doing the face.. I created feston stitch to attach the face.. I added the hair and lips, eyes and cheek tone with beads.. It would look so innocent, then.. ♥

a

(10 PM : After came home from office.. Instead of sleeping, I was doing the plushies’ face in the bed..♥)

bb

Here the twins’ face would be look a like ♥ Less neat, huh? It’s okay ya ..

After done with their face, I ironed the patterns so it wouldn’t be crumpled while I sew it..

c

Time for sew!! I used the crossed stitch in my sewing machine to attach the body pattern with head pattern.. It looked pretty good as you see in the pic ♥

d

Next, unite the front and the back pattern, don’t forget to spare some space for reversing into right part.. This space also used for inserting the stuff..

e

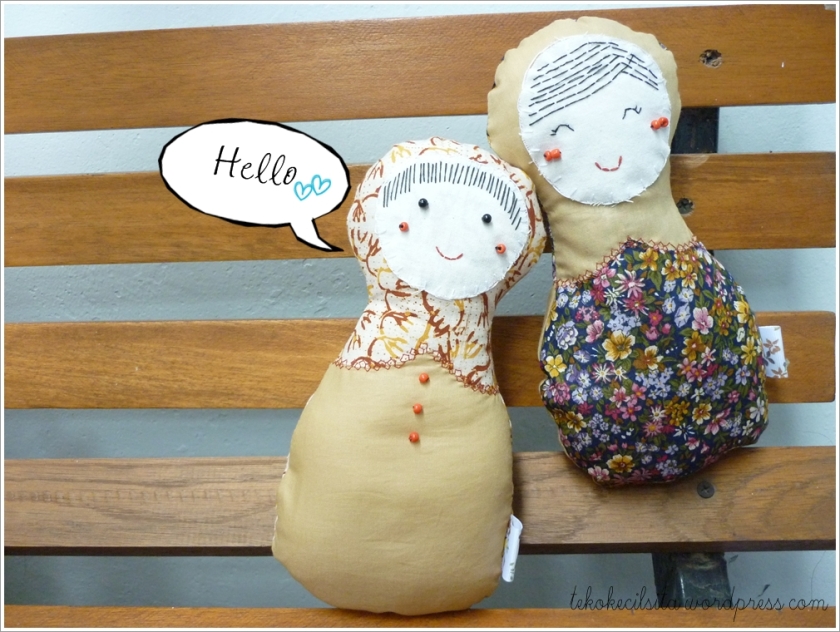
Voilaaa.. My twins were born in the next morning, they were smiling instead of crying.. What cute babies!! I decided to give them name Laras and Sari.. Hihi.. Pretty name for pretty girls..

g

After birth, my twins matryoshka plushies wrapped in warm towels… Hihi..

RPENN_expressyourself-ribbon4

Our first hello for you.. Smooch!!

j

Singing while sunbathing is their favorite do’s in the morning..

xBangun pagi ku terus mandi..

Tidak lupa menggosok gigi..

Habis mandi ku tolong ibu..

Membersihkan tempat tidurku..x

hk

“Sunbathing in the morning is good for our health..” Said Laras and Sari ♥

xLihat kebunku, penuh dengan bunga..

Ada yang putih dan ada yang merah..

Setiap hari ku siram semua..

Mawar melati semuanya indah.. x

i

Well, thank you for reading my post.. I hope you like them.. Thank you snipsnaphappy.blogspot.com for the matryoshka patterns and tutorials .. Readers, you can get the pdf pattern whenever you visit that blog.. Well, the patterns are for personal used only.. Don’t gain any profit using this pattern.. Thanks to you..

Love,

D4779E20035572AC7E2816A17121536E2

Posted in DIY

DIY Plushy : Meet Koyer! The Monster

“Something handmade is so much more meaningful.”~Beth Wert

free digital stamp_swing silhouette

Hellooo March!!

I’m feeling not so well for these passed days.. Both my body and my heart has its own “wound”.. Feeling so sad and tired in the same time.. So much thinking, my goodness..

Finally got a time for rest in last Sunday.. But still I couldn’t rest my mind.. So I peeked my sewing machine, usually it worked to make me forget about the burdens.. (sst.. whenever I sit in front of this sewing machine, there always come craft ideas.. they are “dancing” in my head).. ♥

Anyway, it was a long time not seeing each other too (me-sewing machine.red).. Hehe.. thanks God that sewing machine helped me to forget the sadness and tired feeling.. So, without so much thinking I decided to create a plushy!! A pink plushy.. A pink monster plushy with its lots of cuteness you can not resist.. 😀

c

Beforehand, a month ago I had already print the monster pattern from blog called revoluzzza .. It shared a tutorial to create monster plushy.. Due to my lack of materials like felts and colorful threads, I couldn’t resemble the plushy as same as the tutorial.. But still, my plushy is no less cute than the revoluzzza’s.. 🙂

b

(What’s that sound? Yerr.. Yerr..)

Here the materials :

d

♥ Cotton fabric, cut into monster shape.. Can be more interesting if you use different fabric for back and front side

♥ Thread and needle ( mine using sewing machine)

♥ Buttons for eyes

♥ Stuffing (I got from some random old doll, hehe)

♥ Floral ribbon (or any kind) for “brand tag”

e

b

(Oh my God, here comes again that sounds!! Where does that sound come from?!!)

Okay forget about that yerr yerr sounds, let’s begin creating a plushy 🙂 I hope my picture quite explaining the whole steps 🙂

f

In the middle of sewing, (it’s optional) I attached floral ribbon (which would be like a “brand tag”, later)

g

Don’t forget to give a space for reversing the fabric into the right side.. I’m leaving about 3 inches..

h

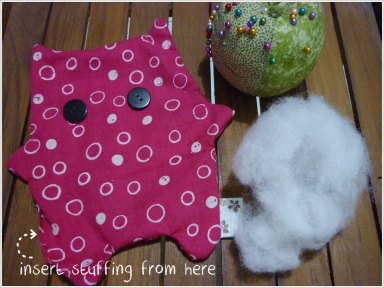
Reverse reverse.. After reversing to the right side of fabric, you can start to insert the stuffing.. This step is quite tricky..

Tips : Start with the small space like ears, hands and feet.. Because if you don’t make sure those parts are fully stuffed, they will look flat and it’s not good..

i

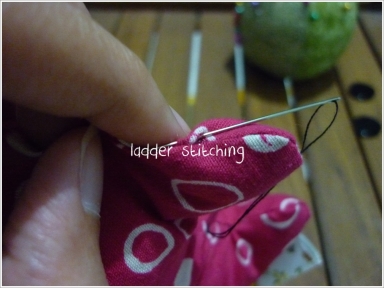
Finish the stuffing, you can start ladder stitching to close the opens part..

j

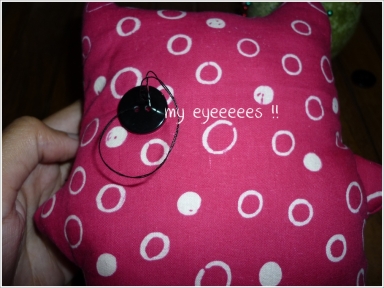
My plushy is one step closer to the birth time.. Haha.. I attached the black buttons as her eyes..

k

And Voilaaaa!! Here she is, my new baby .. Koyer the Monster..

I named her Koyer because she always voiced “Yerrr.. yerrr..”

a

l

bb

Hmmm… So, Koyer is the source of all those sounds .. Haha.. Yerr Yerr

m

She always sounds “yerr yerr” though she doesn’t have any lips.. Haha.. With dots in the whole body, she looks almost the same with Spongebob.. But of course, she’s thousands times prettier than the yellow sponge in that bikini bottom.. Hehe ♥

RPENN_expressyourself-ribbon4

Once upon a time, Koyer! the monster wander to other lands.. She want to gain adventurous experiences and see the whole world.. But, after a long time, she realize that she needs a friend to adventure with.. She crave for sincere friendship.. Fortunately, in the middle of her way, she meets Arimbi the fatty belly bunny who was drinking at the small river.. Yerr yerr.. Koyer! is really happy meeting Arimbi and so is Arimbi.. Finally, Koyer! is not feeling lonely anymore.. She continue her journey with her besty, Arimbi ♥

n

(Oh my God, Arimbi.. Your fat is already piling up in your abs.. I think you should exercise more..!! hihi ♥)

op

Koyer! and Arimbi are playing around and taking a selfie 🙂

Okay, thanks for reading my tutorials.. Hope you like it.. Don’t forget to visit my post about Arimbi super fatty belly (socks bunny tutorial) too, here

See you to my another post ♥

RPENN_expressyourself-ribbon4

Love,

D4779E20035572AC7E2816A17121536E2